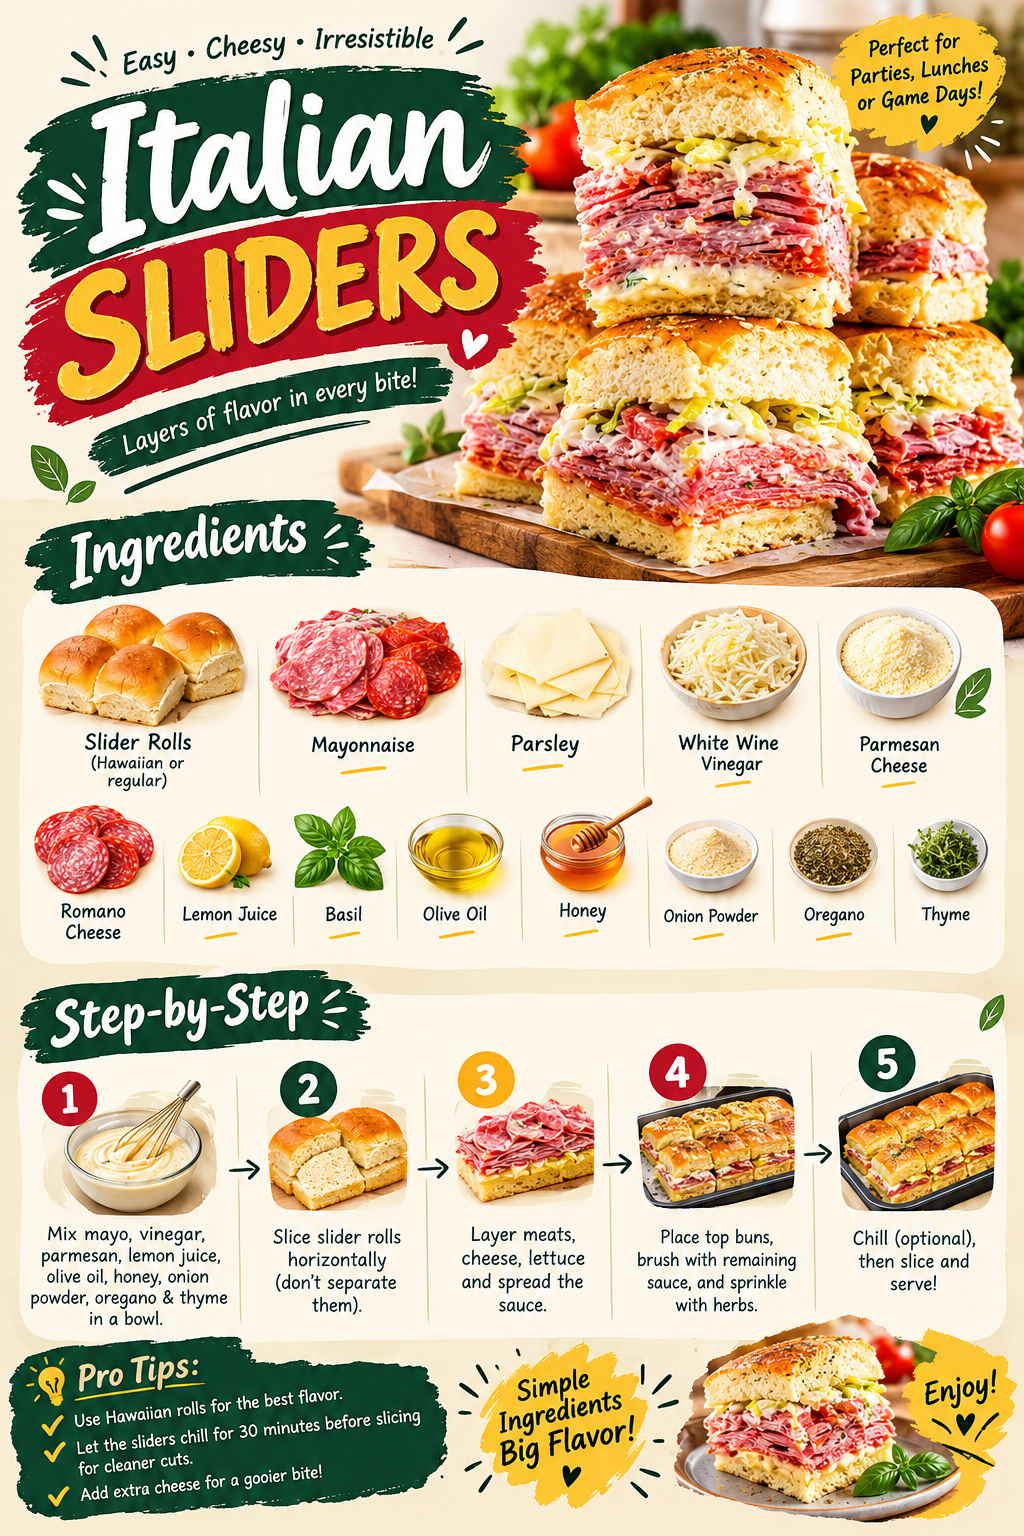
Italian Sliders — easy, cheesy and irresistible! Layers of flavor in every bite: salami, pepperoni, melted cheese and a zesty homemade Italian sauce on soft slider rolls. Simple ingredients, big flavor — perfect for parties, lunches or game days!
Cheesy
Irresistible
12 Sliders
Parties & Game Days
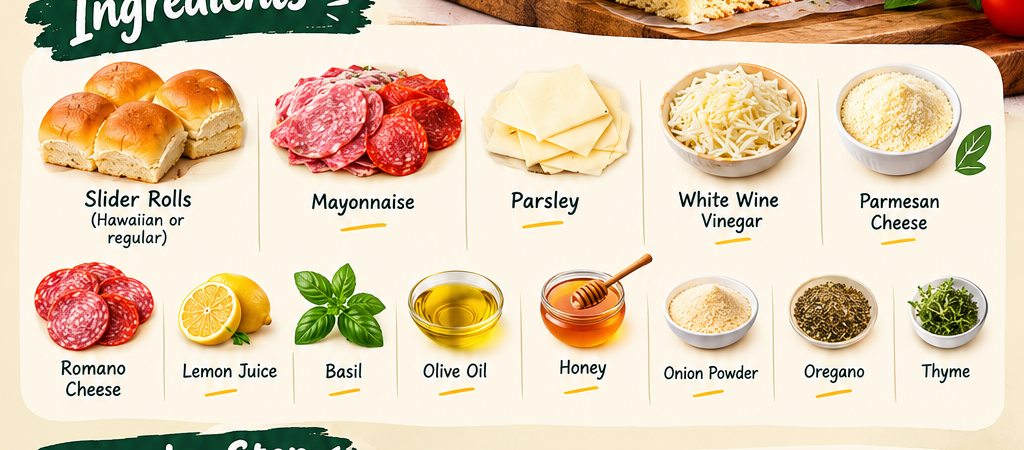
Ingredients
- 12 slider rolls (Hawaiian or regular)
- 1/2 cup mayonnaise
- 2 tbsp white wine vinegar
- 1/4 cup grated Parmesan cheese
- 1/2 cup grated Romano cheese
- 2 tbsp lemon juice
- 1 tbsp olive oil
- 1 tsp honey
- 1 tsp onion powder
- 1 tsp dried oregano
- 1 tsp dried thyme
- Fresh parsley, chopped
- Fresh basil, chopped
- 12 slices salami
- 12 slices pepperoni
- 6 slices provolone or mozzarella cheese
- 1 cup shredded lettuce
Step-by-Step
Step 1: Mix the Italian Sauce
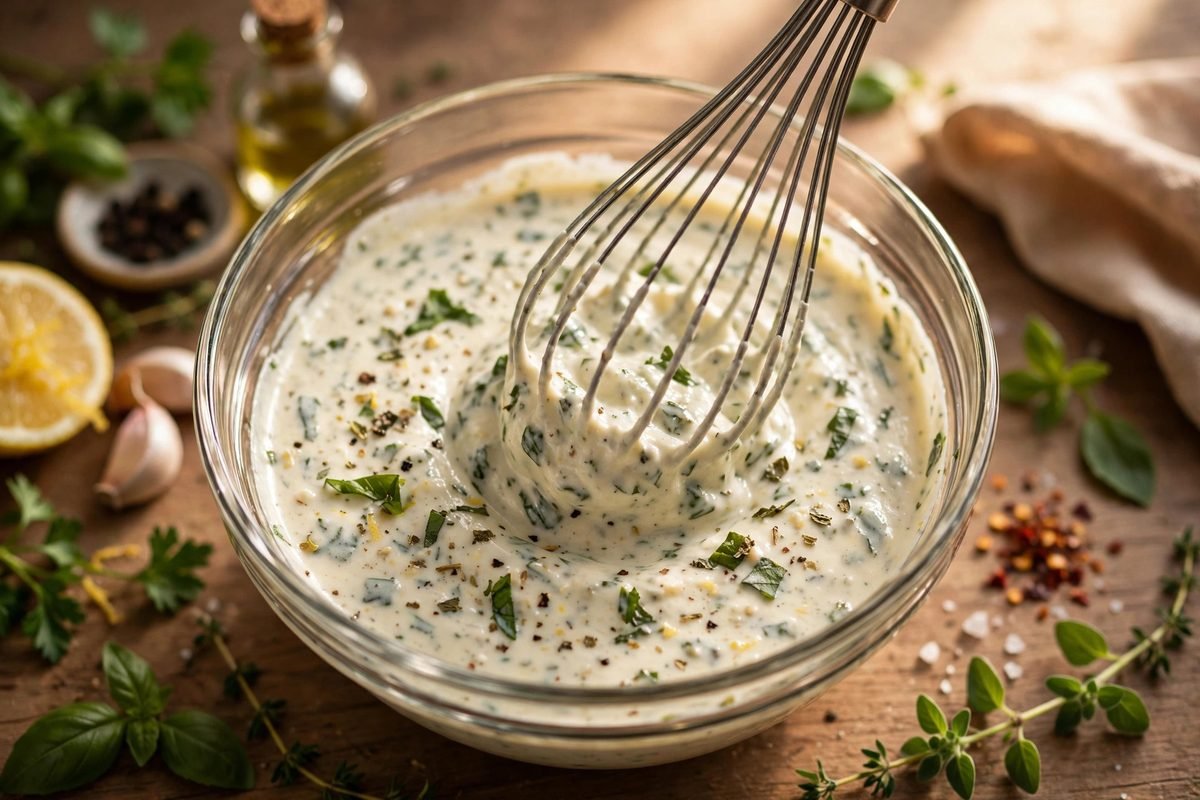
Whisk the mayonnaise, white wine vinegar, Parmesan cheese, lemon juice, olive oil, honey, onion powder, oregano and thyme in a bowl until smooth and creamy. Taste and adjust — the honey should balance the vinegar’s tang, and the herbs give it that Italian sub-shop flavor.This sauce is the star. Make it a few hours ahead and the flavors meld even better.
Step 2: Slice the Slider Rolls
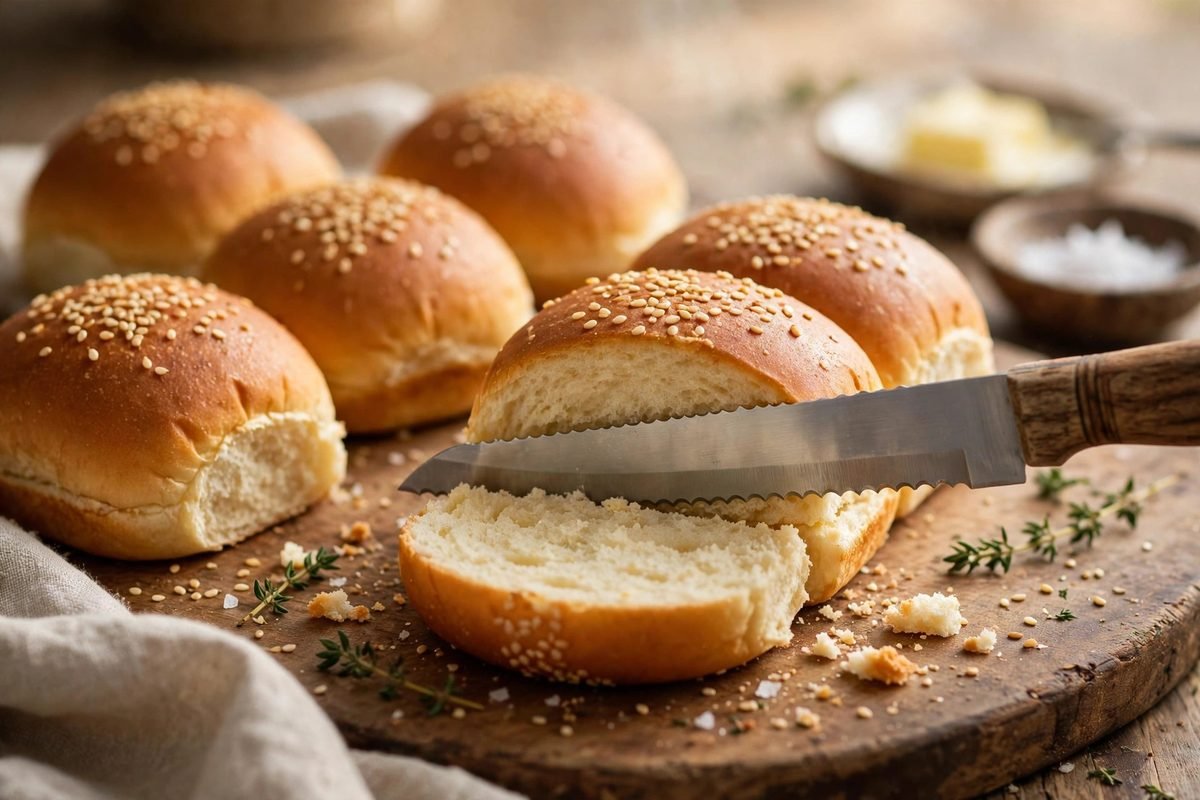
Keep the rolls attached in one slab and slice horizontally with a serrated bread knife into a bottom half and a top half. Do not separate the individual rolls — slicing the slab keeps everything aligned and makes layering, chilling and cutting far easier.A serrated bread knife with a gentle sawing motion cuts cleanly without squishing the soft rolls.
Step 3: Layer the Meats, Cheese and Lettuce
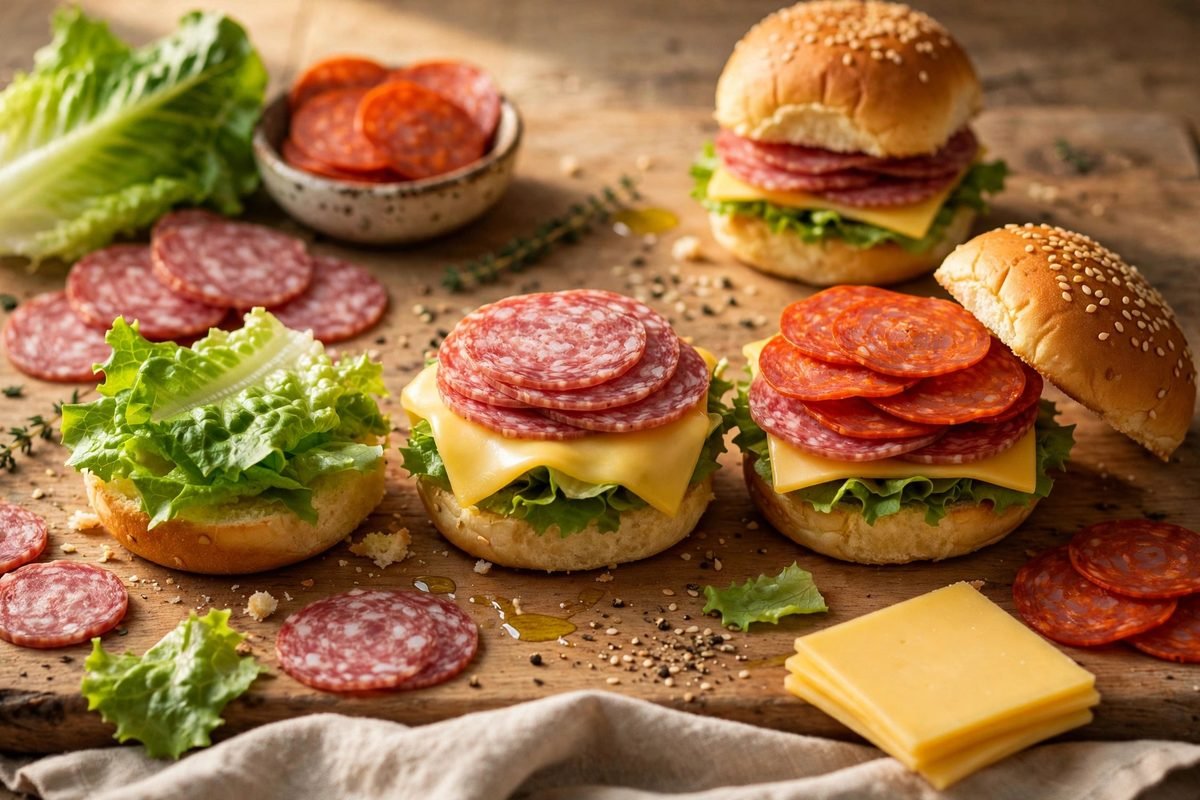
Place the bottom half in a 9×13 baking dish. Spread a generous layer of the Italian sauce over it. Layer on the salami, pepperoni and provolone, then the shredded lettuce. Spread more sauce over the lettuce — every layer gets sauce so no bite is dry.Sauce on both the bottom and the top layers keeps every bite juicy and flavorful.
Step 4: Top, Brush and Finish
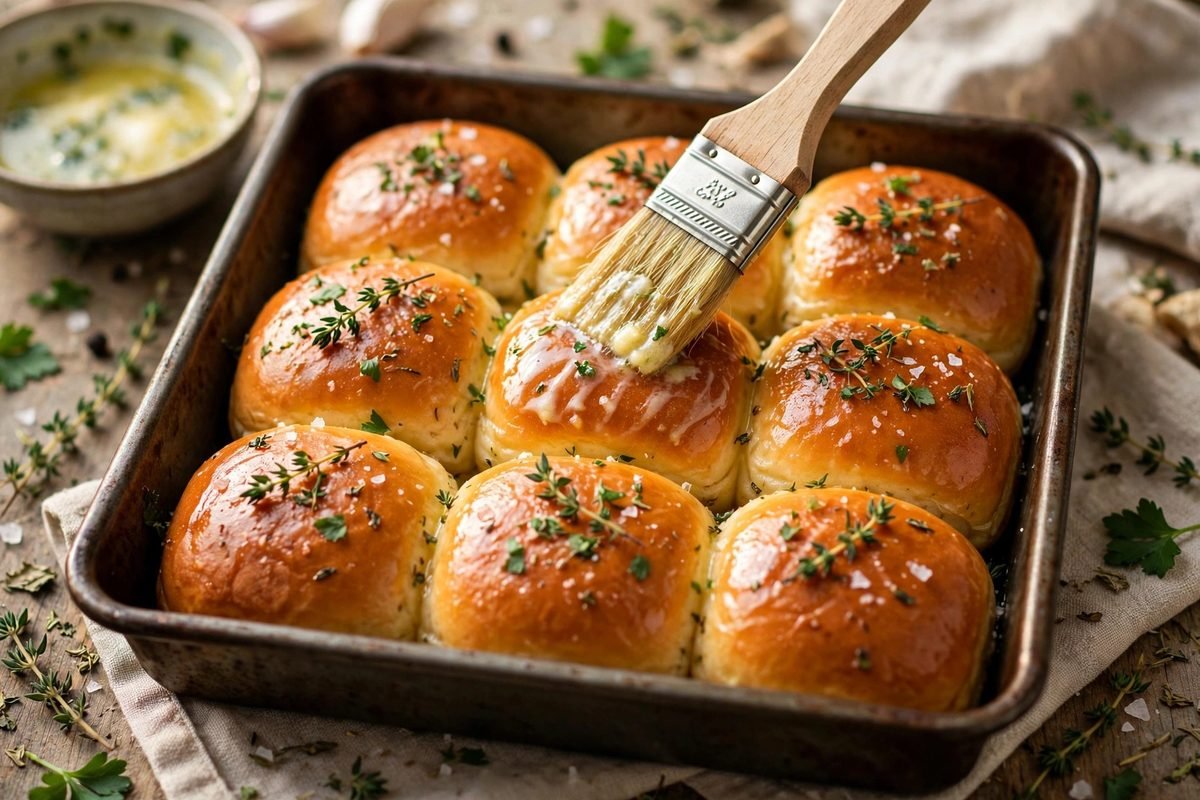
Place the top half of the rolls over the filling. Brush the tops generously with the remaining sauce and sprinkle with chopped parsley, oregano and extra Parmesan. Optional: bake uncovered at 350°F (175°C) for 10-12 minutes until the cheese melts and the tops are golden.The optional bake melts everything together and toasts the tops — 10 minutes is all it takes.
Step 5: Chill, Slice and Serve
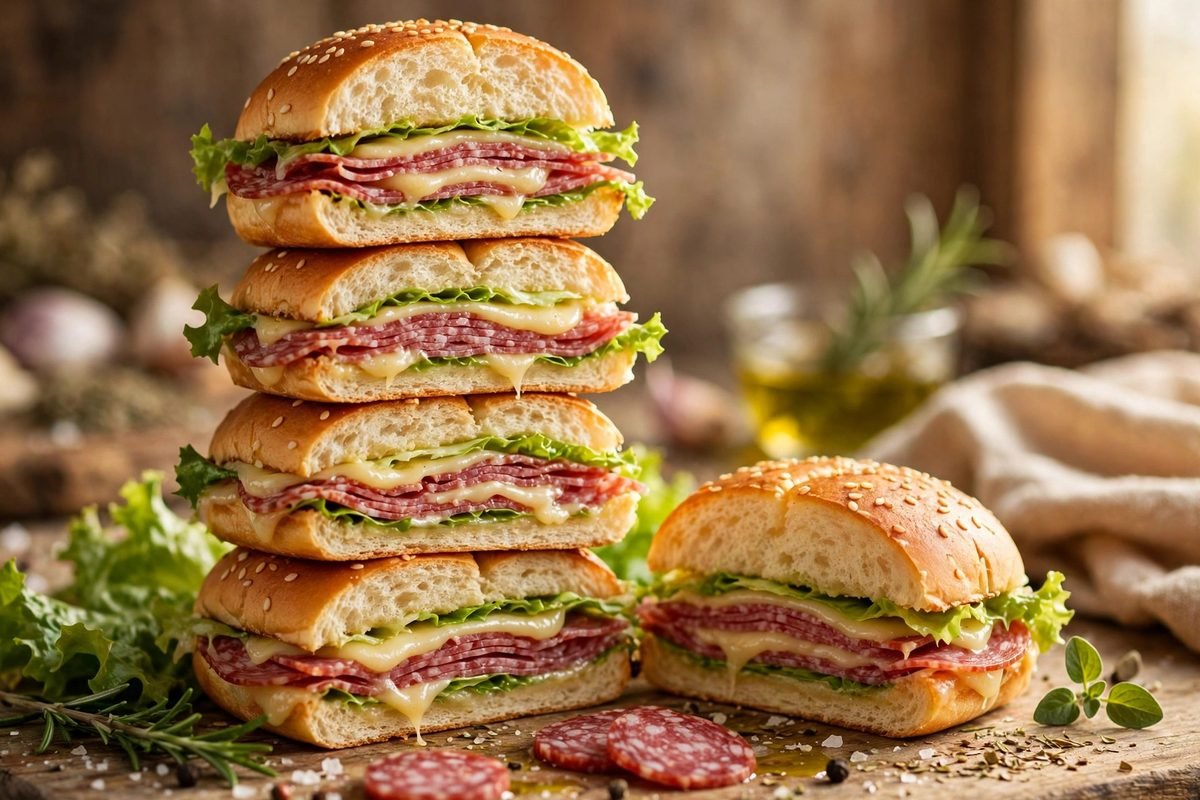
For the cleanest cuts, refrigerate the assembled sliders for 30 minutes before slicing (optional but recommended). Then slice along the roll seams with a serrated knife into 12 individual sliders and serve immediately.Chilling firms the sauce and layers so the sliders slice cleanly instead of sliding apart.
Pro Tips
- Use Hawaiian rolls for the best flavor. Their slight sweetness is the perfect match for the salty meats and tangy sauce.
- Let the sliders chill for 30 minutes before slicing for cleaner cuts that hold together.
- Add extra cheese for a gooier bite! A second layer of provolone never hurts.
- Make the sauce ahead. It keeps 5 days in the fridge and the flavors deepen overnight.
- Serve warm or cold. Bake for melty, gooey sliders, or chill for a classic deli-style bite.
Frequently Asked Questions
Can I make Italian sliders ahead of time?
Yes — assemble, wrap tightly and refrigerate up to 24 hours. Chill the full 30 minutes (or longer) for the cleanest cuts.
What meats work best?
Salami and pepperoni are the classic combo, but ham, capicola or mortadella all work beautifully.
Should I bake or chill them?
Both work. Baking melts the cheese for a hot, gooey slider; chilling gives a crisp, deli-style bite. The pin recommends chilling before slicing either way.
Can I use regular rolls instead of Hawaiian?
Yes, regular slider rolls work fine — Hawaiian rolls just add a touch of sweetness.
How do I store leftovers?
Refrigerate in an airtight container up to 3 days. Reheat baked sliders in the oven at 325°F (165°C) for 10 minutes.