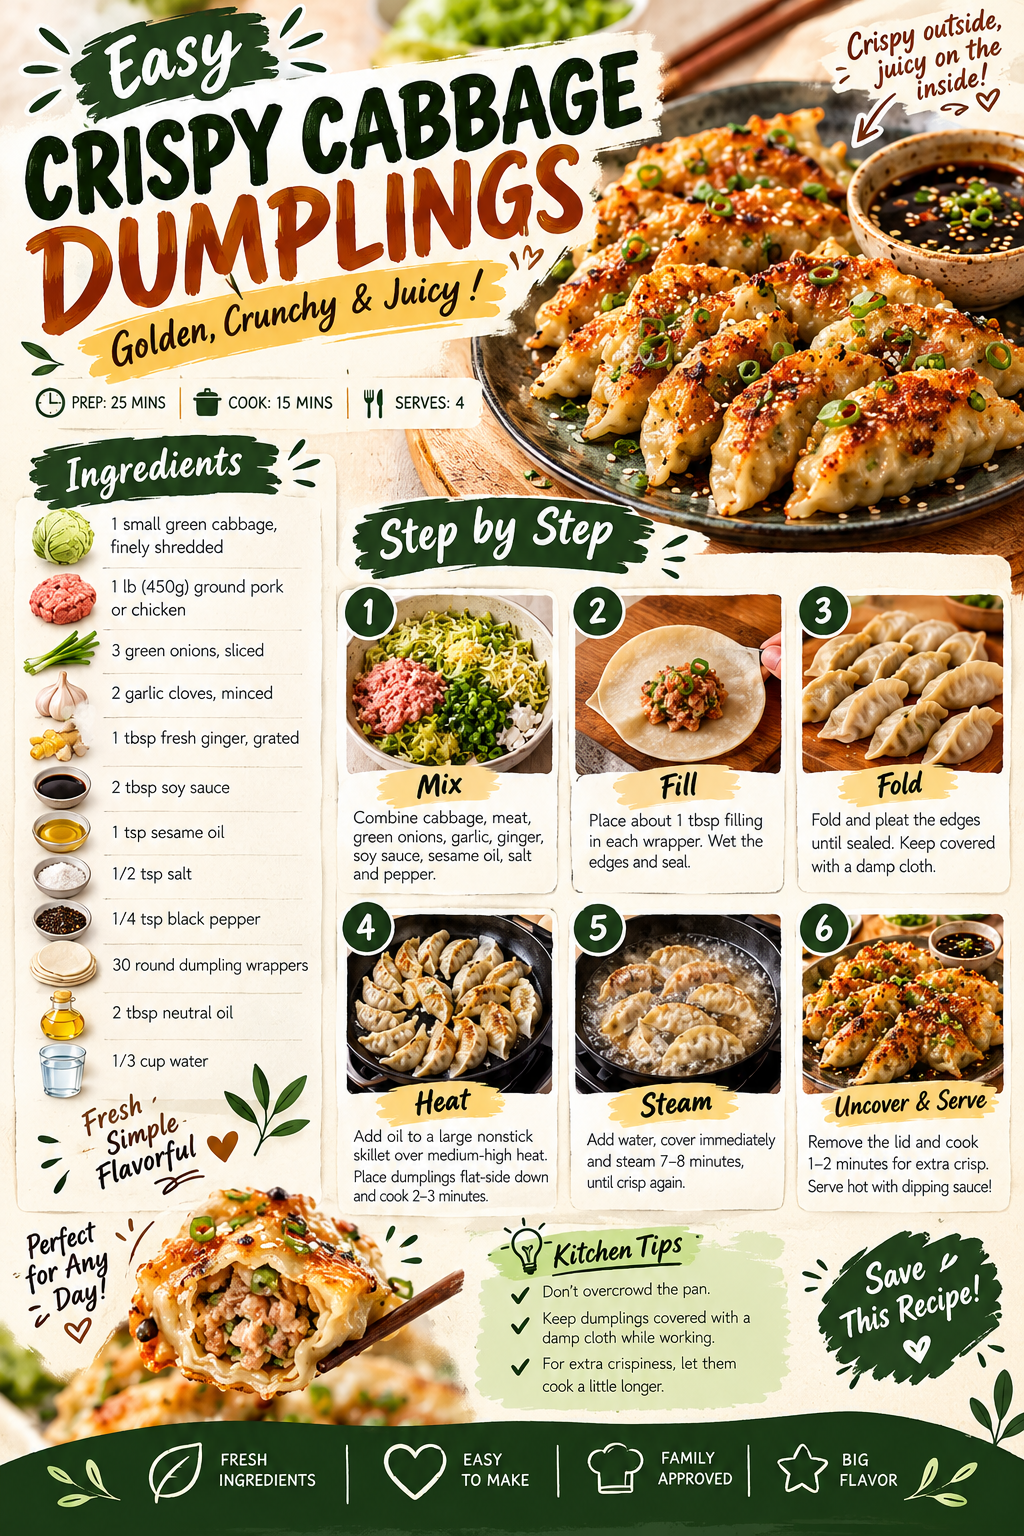
Golden, crunchy and juicy! These easy crispy cabbage dumplings are the perfect potsticker-style treat — crisp, golden bottoms with a juicy cabbage and meat filling inside. Fresh, simple and flavorful: perfect for any day, and family approved!
Follow the Steps
Crispy Cabbage DumplingsGolden, crunchy & juicy • Crispy outside, juicy on the inside
Crispy Cabbage Dumplings
Fresh + Simple + Flavorful
You need: 1 small green cabbage (finely shredded), 1 lb (450g) ground pork or chicken, 3 green onions (sliced), 2 garlic cloves (minced), 1 tbsp fresh ginger (grated), 2 tbsp soy sauce, 1 tsp sesame oil, 1/2 tsp salt, 1/4 tsp black pepper, 30 round dumpling wrappers, 2 tbsp neutral oil, 1/3 cup water.
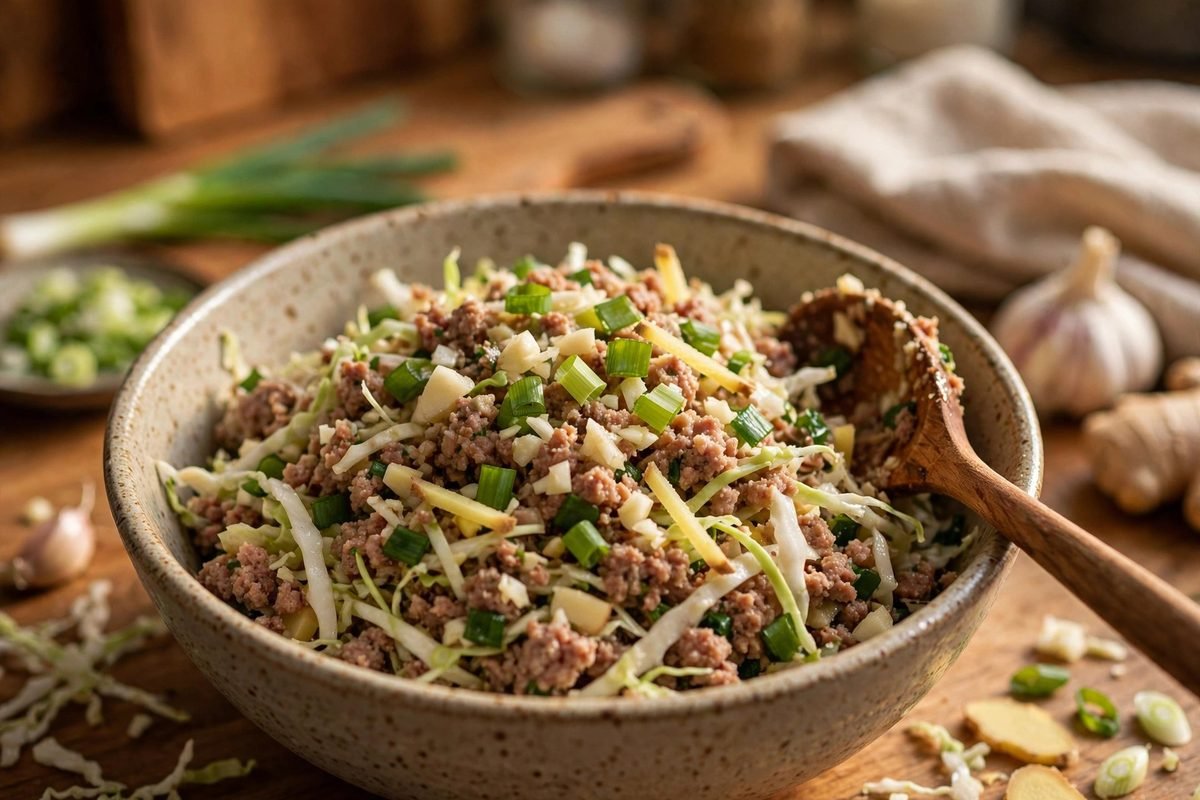
Finely shred the cabbage, toss it with 1/4 teaspoon of the salt and let it sit for 10 minutes, then squeeze out the excess water with your hands or a clean kitchen towel — this step is essential, because wet cabbage makes a watery filling. In a large bowl, combine the drained cabbage with the ground pork or chicken, sliced green onions, minced garlic, grated ginger, soy sauce, sesame oil, the remaining 1/4 teaspoon salt and the black pepper. Mix thoroughly with your hands or a sturdy spoon until everything is evenly distributed and the mixture feels slightly sticky and cohesive. Cover the bowl and refrigerate for 15 minutes so the flavors have time to meld together.
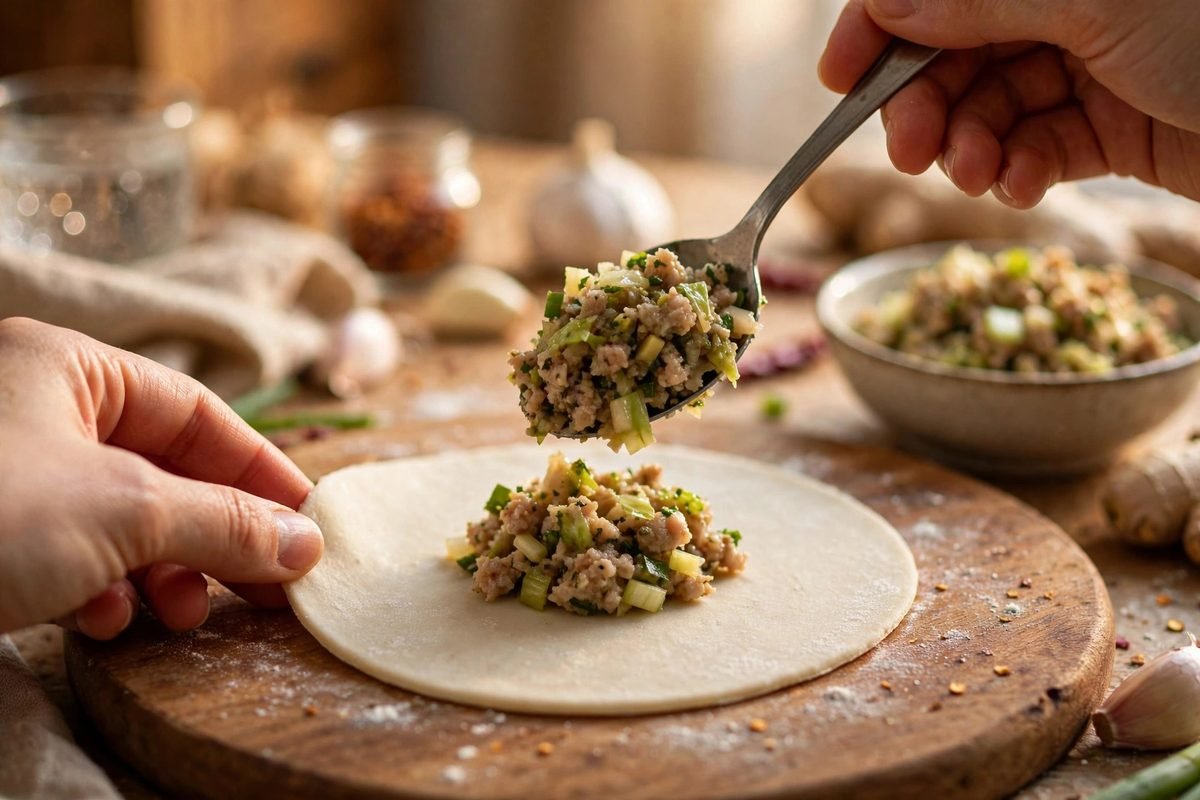
Lay one round dumpling wrapper flat in your palm or on a clean work surface, and keep the remaining wrappers covered with a damp cloth at all times so they do not dry out and crack. Place about 1 tablespoon of the chilled filling right in the center of the wrapper — resist the urge to overfill, because a dumpling that is too full will not seal properly and will burst open while cooking. Dip your fingertip in a small bowl of water and run it around the entire outer edge of the wrapper; this light moisture is the glue that will keep the dumpling sealed shut.
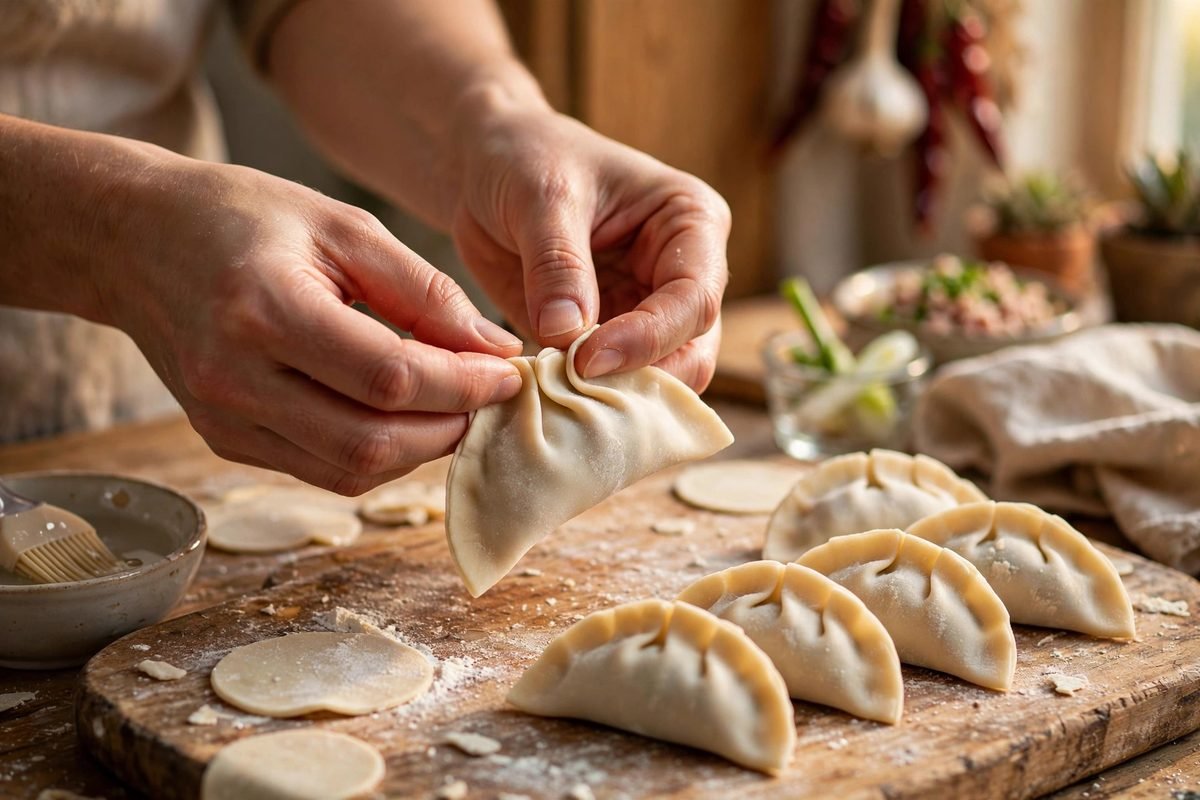
Fold the wrapper in half over the filling to form a half-moon shape. Starting from one end, pleat and pinch the edges together firmly until the dumpling is completely sealed — aim for 5 to 6 small, even pleats for that classic potsticker look. Press out any trapped air bubbles as you seal, because trapped air expands in the heat and can split the wrapper open. Set each finished dumpling on a lightly floured tray or plate and keep them covered with a damp cloth while you work, so the wrappers stay supple and do not dry out.
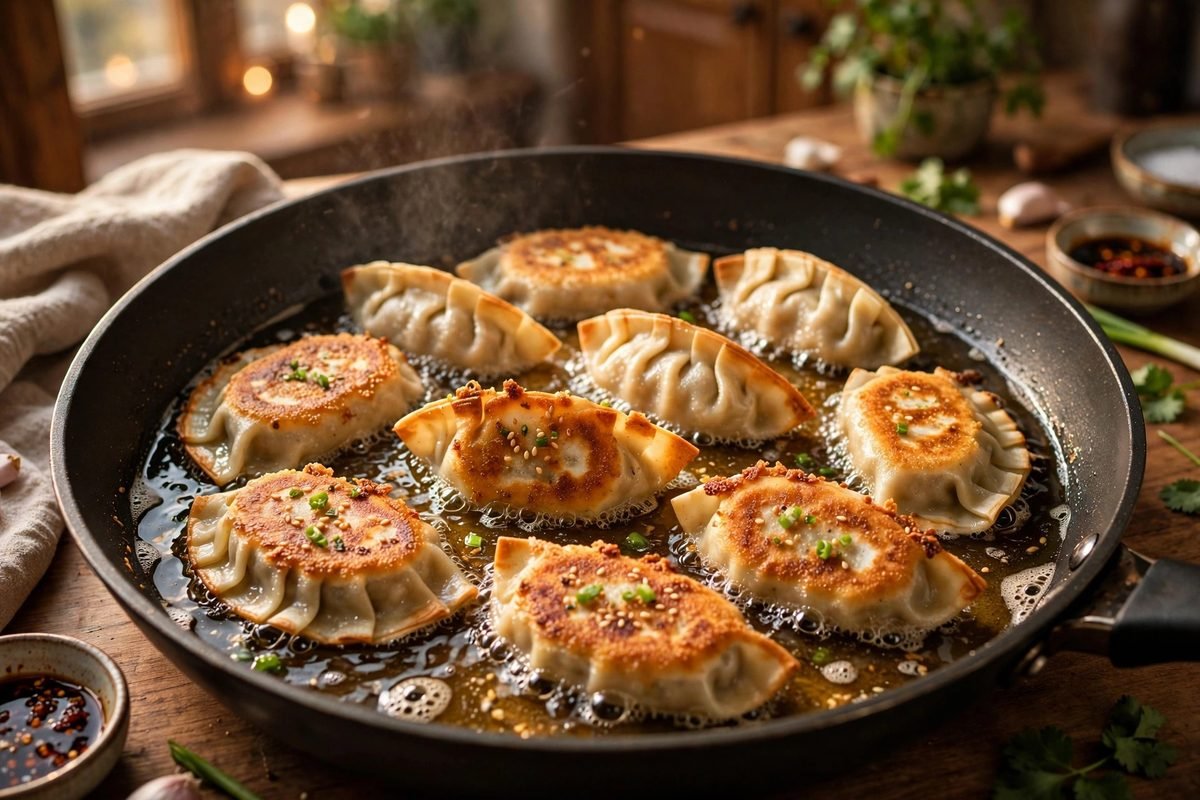
Heat the 2 tablespoons of neutral oil in a large nonstick skillet over medium-high heat until the oil shimmers and moves freely across the pan. Carefully arrange the dumplings flat-side down in a single layer, leaving a little breathing room between each one — do not overcrowd the pan, or the dumplings will steam instead of crisping. Cook undisturbed for 2-3 minutes, without nudging them, until the bottoms are a deep, even golden brown. Resist peeking too early: the crisp crust needs those few uninterrupted minutes to form.
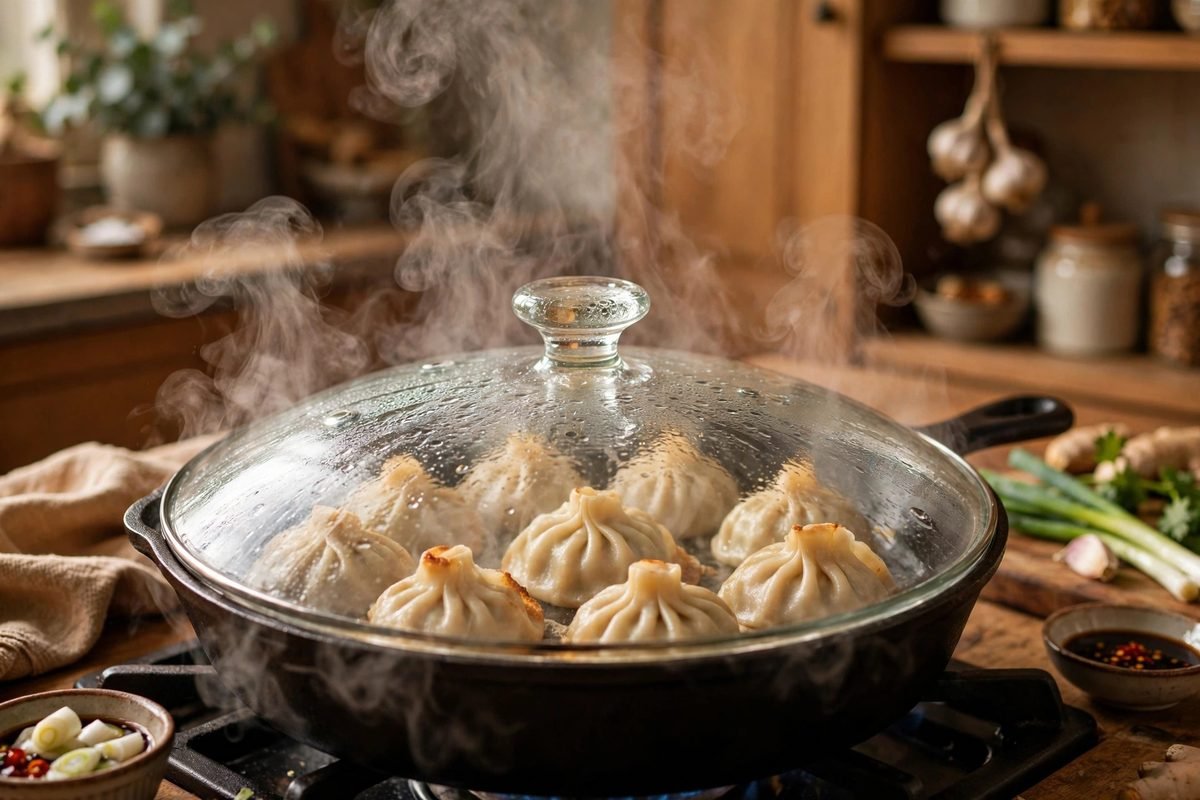
Carefully pour the 1/3 cup of water into the hot skillet — it will sizzle and splatter loudly, so pour slowly and stand back — and immediately cover the pan with a tight-fitting lid to trap the steam. Reduce the heat to medium and let the dumplings steam for 7-8 minutes, until the wrappers turn slightly translucent and the filling is fully cooked through. The rising steam cooks the tops and sides of the dumplings while the bottoms keep their crispy crust underneath.
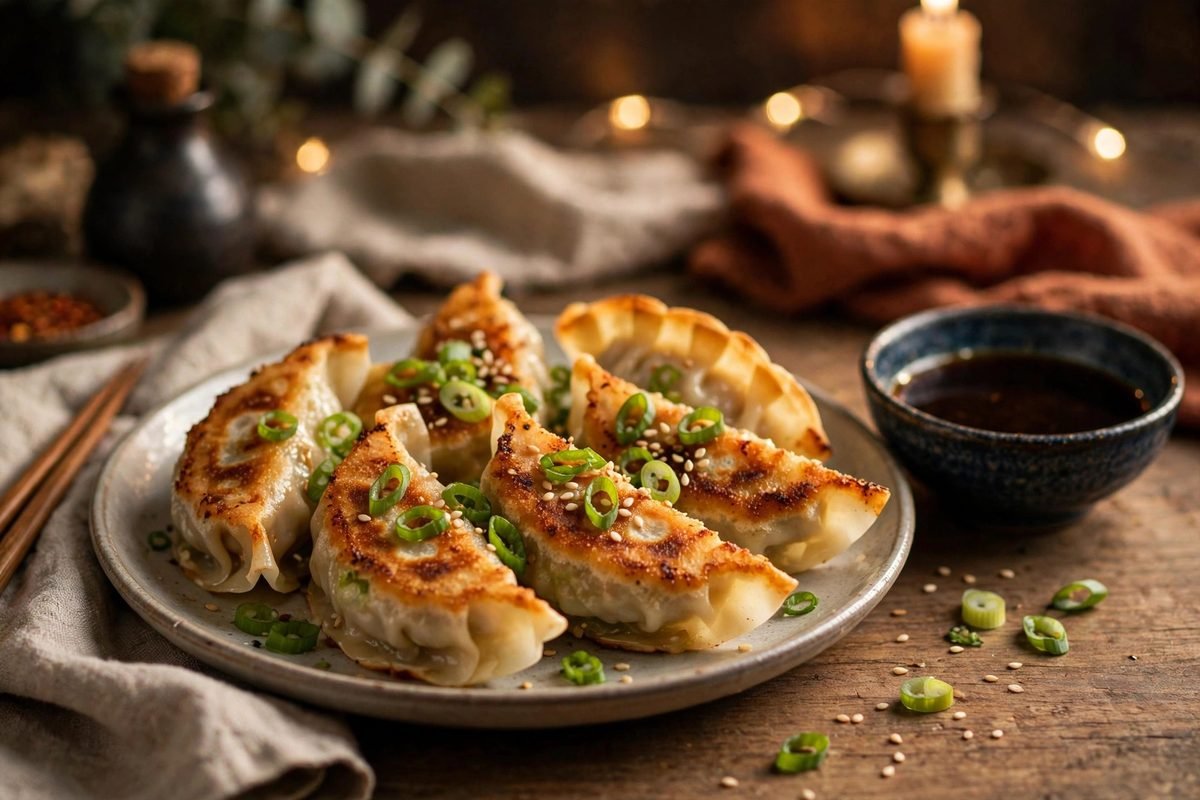
Remove the lid and let any remaining water bubble away completely. Cook the dumplings uncovered for 1-2 more minutes so the bottoms crisp up again to a beautiful golden crunch — for extra crispiness, let them go a touch longer. Transfer the dumplings to a warm platter, crispy-side up, and sprinkle with extra sliced green onions and sesame seeds if you like. Serve immediately while hot with soy dipping sauce on the side. Crispy outside, juicy inside — enjoy every bite!
Dumpling Tips
- Do not overcrowd the pan. Dumplings need space to crisp — cook in two batches if your skillet is small.
- Keep dumplings covered with a damp cloth while working. Dry wrappers crack and will not seal properly.
- For extra crispiness, let them cook a little longer. That final uncovered minute or two builds the golden, crunchy crust.
- Salt and squeeze the cabbage. Removing the excess water is what keeps the filling juicy instead of soggy.
- Freeze uncooked extras. Freeze folded dumplings in a single layer, then bag them — cook straight from frozen, adding a couple of extra steaming minutes.
Frequently Asked Questions
Can I use chicken instead of pork?
Yes — ground chicken works just as well. Use the same seasoning; the dumplings stay juicy thanks to the cabbage and sesame oil.
Why did my dumplings stick to the pan?
Use a true nonstick skillet with enough oil, wait until the oil shimmers before adding the dumplings, and do not overcrowd the pan.
Can I steam the dumplings instead of pan-frying?
Yes — steam them for 8-10 minutes in a steamer basket. You will miss the crispy bottoms, but they will be soft and juicy.
How do I store and reheat leftovers?
Refrigerate for up to 3 days. Reheat in a hot skillet with a splash of oil to bring the crispness back — the microwave will make them soft.
What dipping sauce goes with these?
Classic soy sauce with a few drops of sesame oil and chili is perfect; rice vinegar and soy is another favorite.