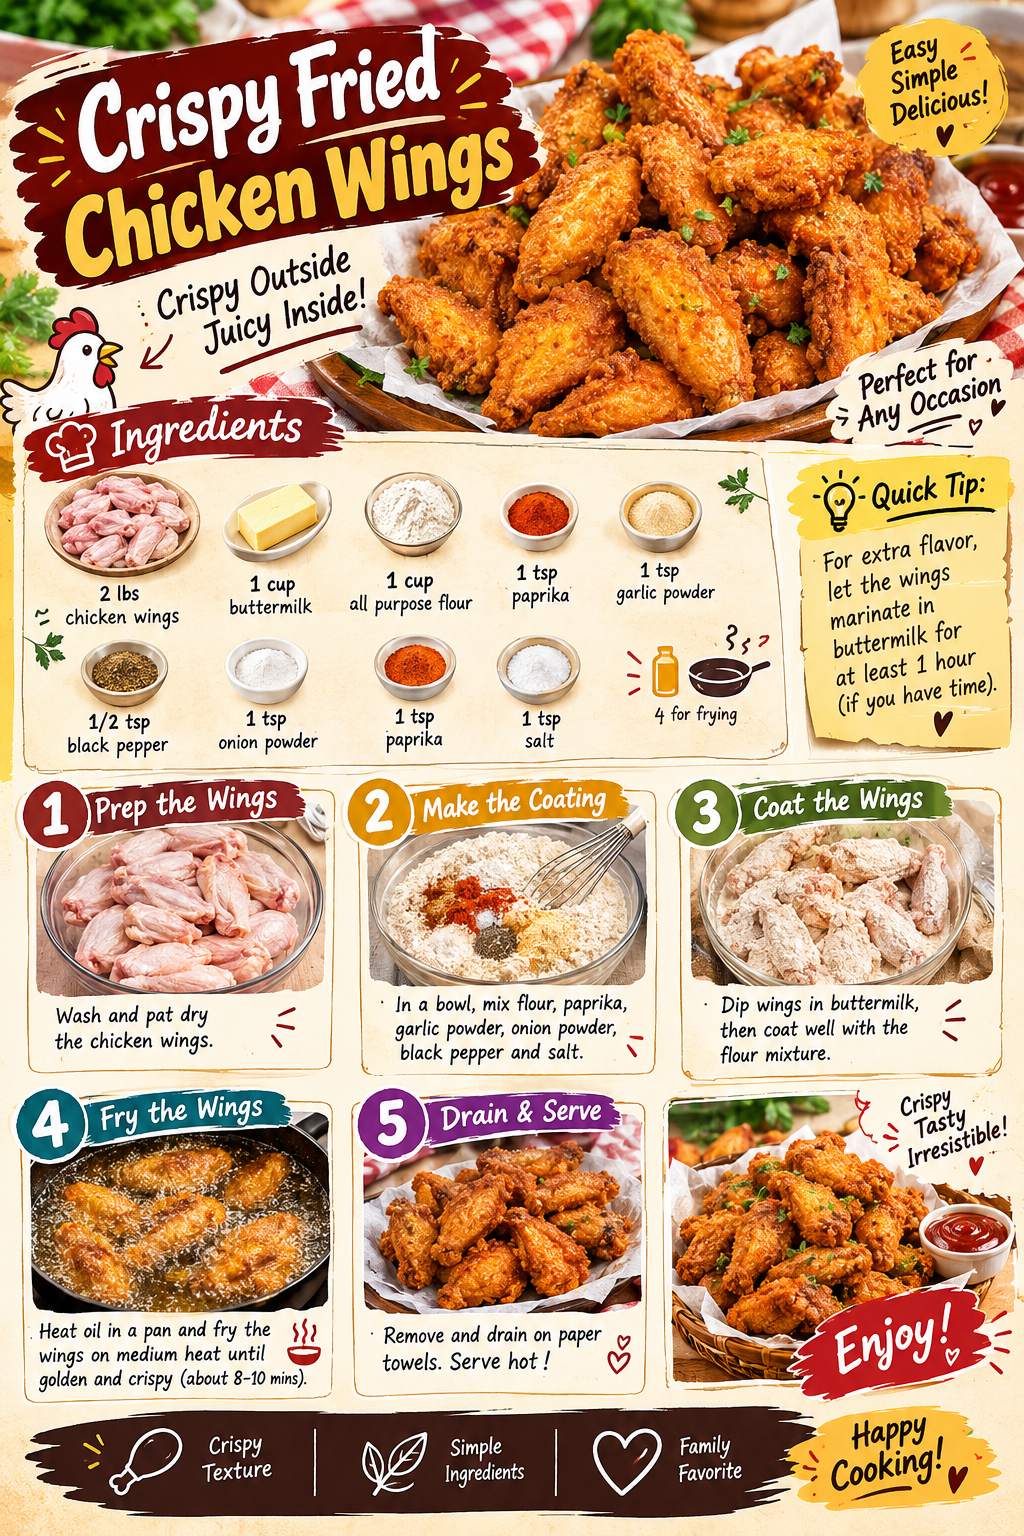
Crispy Fried Chicken Wings — crispy outside, juicy inside! Easy, simple, delicious and perfect for any occasion: buttermilk-dipped wings in a paprika-spiced flour coating, fried golden in about 10 minutes. Every step below comes with its own photo.
Simple Ingredients
Family Favorite
Fry 8-10 min
Ingredients
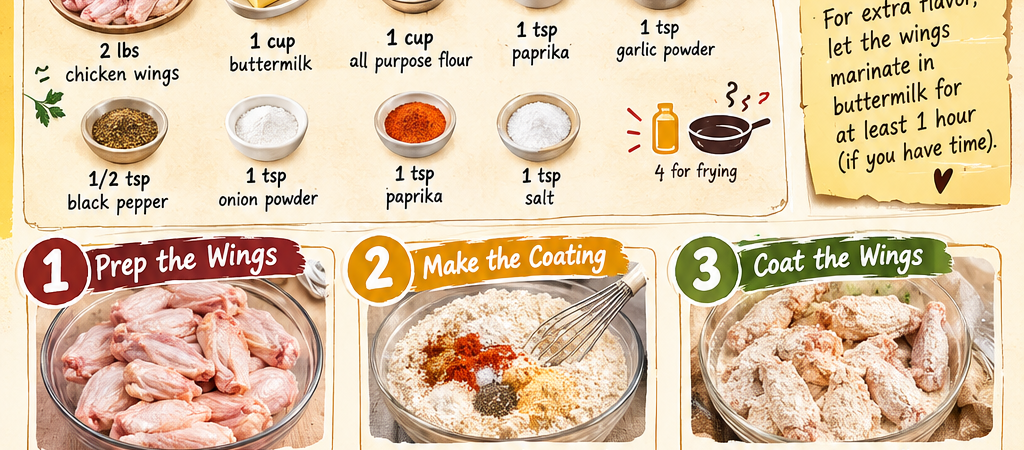
- 2 lbs chicken wings
- 1 cup buttermilk
- 1 cup all purpose flour
- 1 tsp paprika
- 1 tsp garlic powder
- 1/2 tsp black pepper
- 1 tsp onion powder
- 1 tsp paprika
- 1 tsp salt
- Oil for frying
Step by Step
Prep the Wings
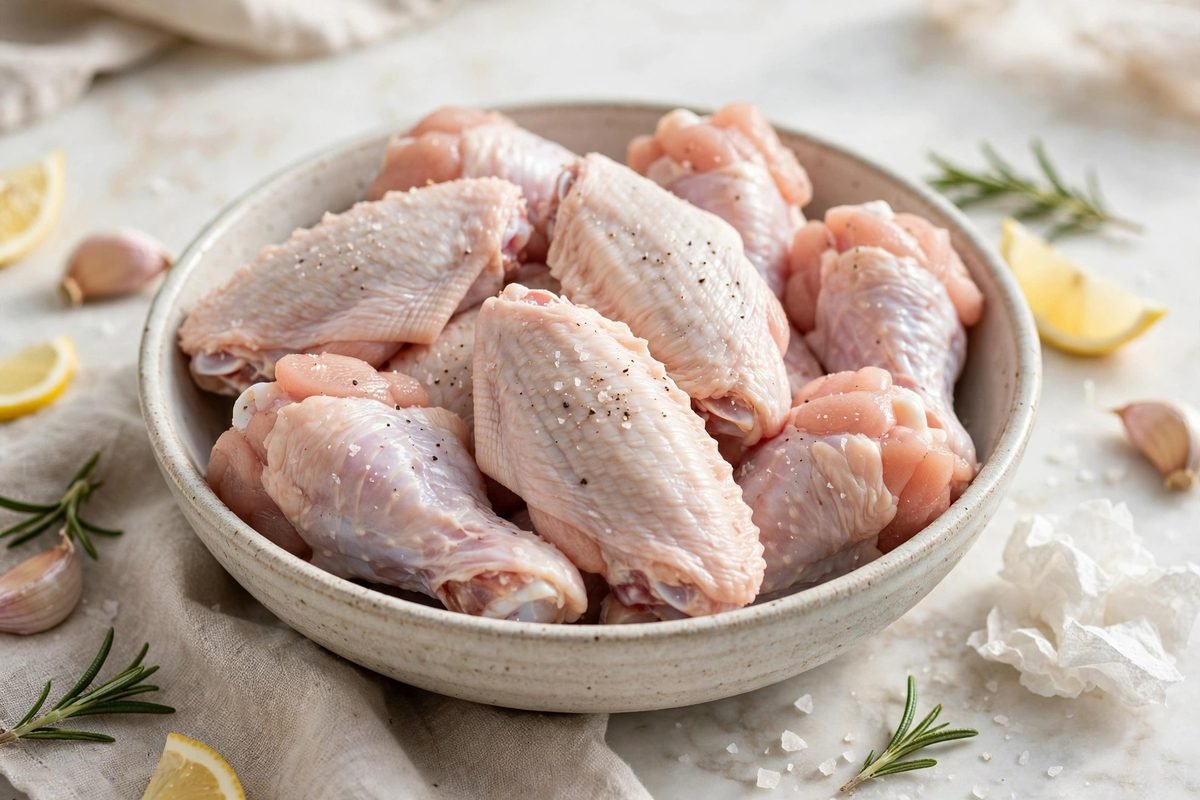
Wash and pat dry the chicken wings. That patting dry is not a throwaway step — a dry surface is the foundation of a crispy crust, because surface moisture turns to steam in the oil and pushes the coating off. Take a full minute with paper towels and get them properly dry, then let the wings sit at room temperature for 15-20 minutes so they fry evenly instead of chilling the oil.
Make the Coating
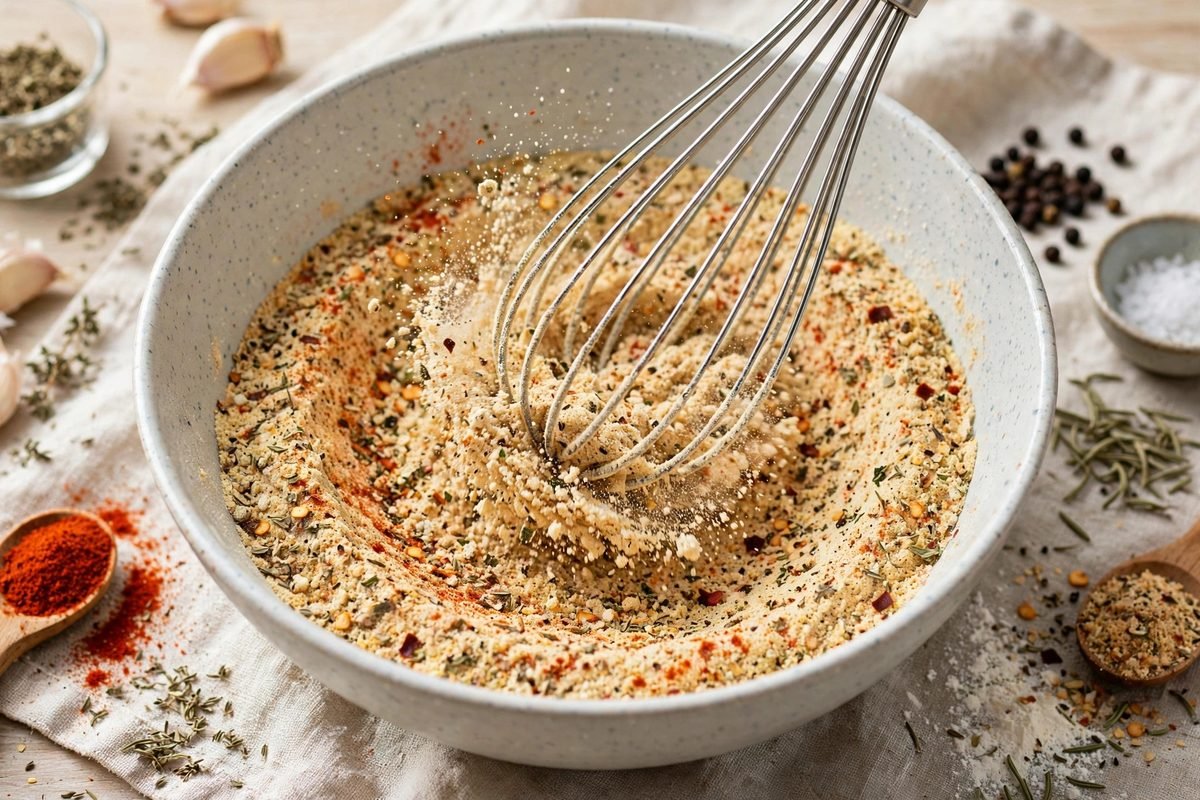
In a bowl, mix the 1 cup flour with the paprika (the pin lists 1 tsp twice — 2 tsp total, which is exactly right for the deep golden color), 1 tsp garlic powder, 1 tsp onion powder, 1/2 tsp black pepper and 1 tsp salt. Whisk it thoroughly so every spoonful of flour carries the same seasoning; an uneven mix means some wings come out bland and others salty. This generously seasoned flour is the entire flavor crust, so taste a pinch of the raw flour mix — it should taste bold.
Coat the Wings
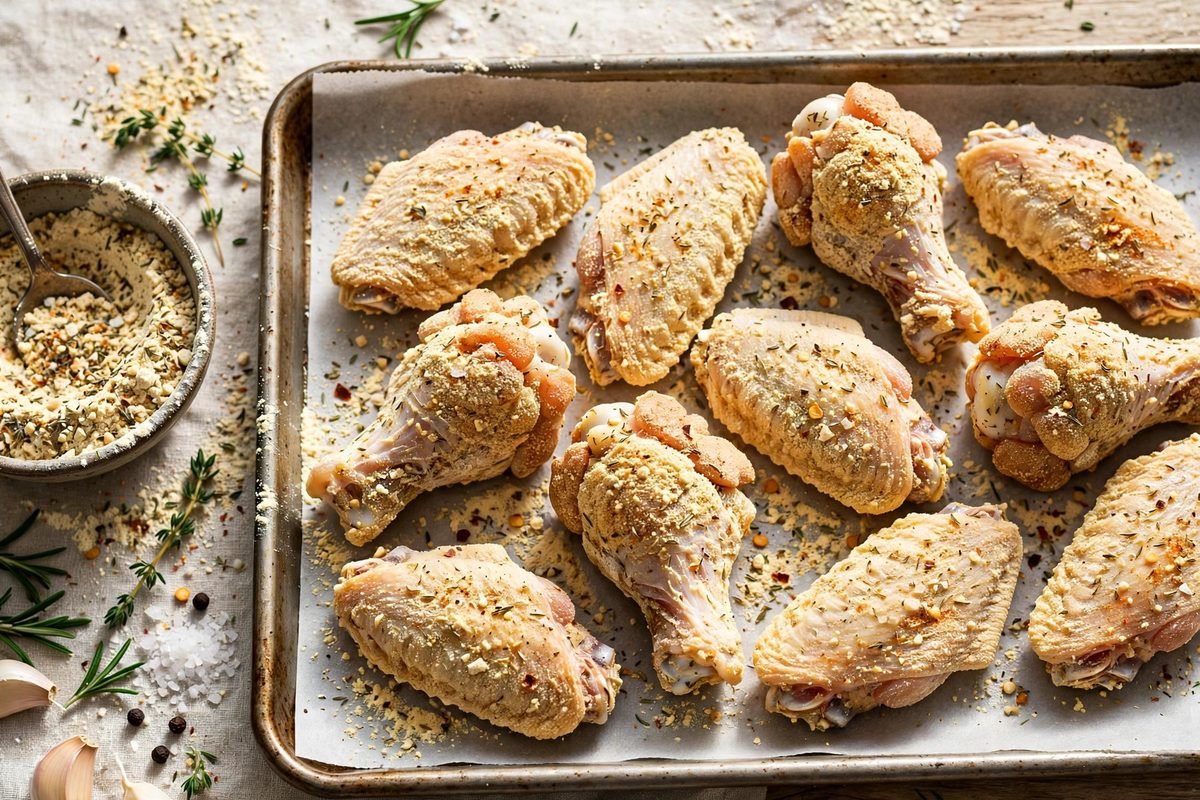
Dip the wings in buttermilk, then coat well with the flour mixture. Let the excess buttermilk drip off first — you want a thin film, not puddles — then press each wing firmly into the flour on all sides so the coating really adheres, and shake off the loose excess. The pin’s own Quick Tip upgrades this step beautifully: for extra flavor, let the wings marinate in the buttermilk for at least 1 hour (if you have time) before coating. Set the coated wings on a rack for 10 minutes before frying — the rest lets the flour hydrate into a paste that fries into a shatter-crisp shell instead of falling off in the oil.
Fry the Wings
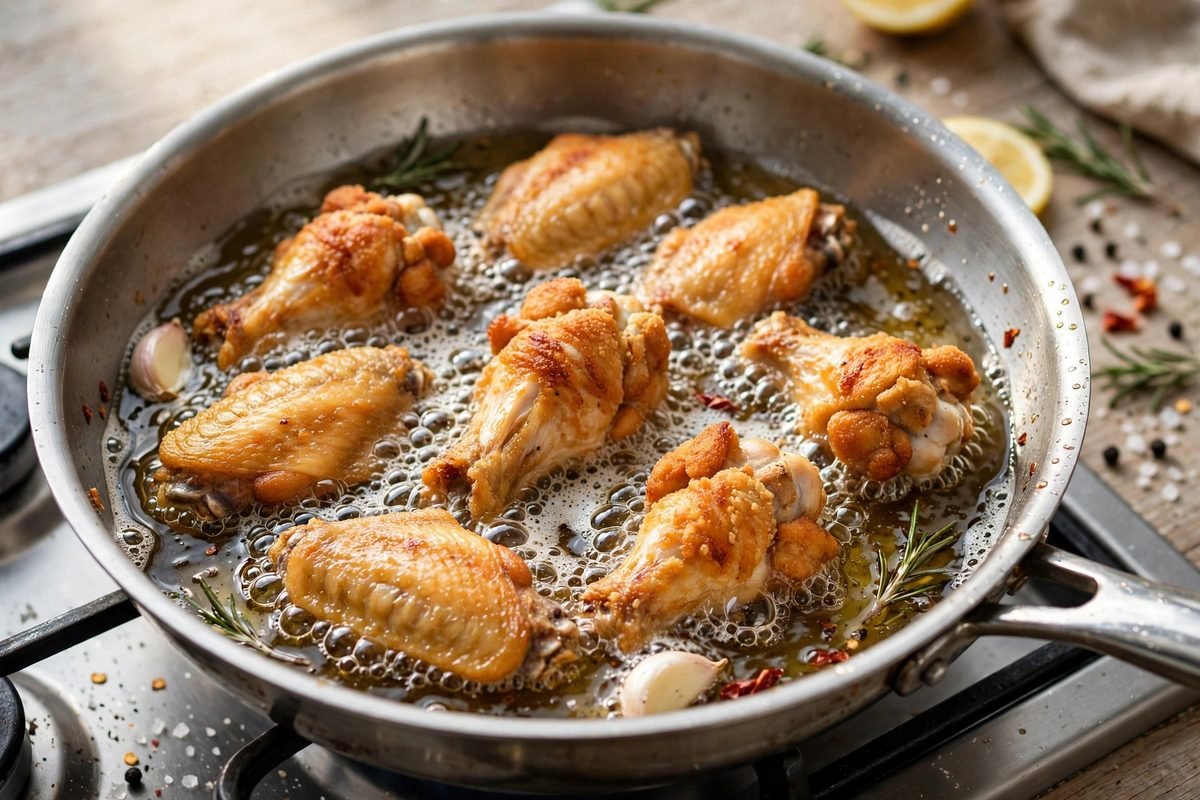
Heat oil in a pan and fry the wings on medium heat until golden and crispy (about 8-10 mins). Fill the pan with about an inch of oil and bring it to around 350°F — hot enough to sizzle steadily, not so hot it smokes. Lay the wings in a single layer without crowding (crowding drops the temperature and steams the crust soft), and resist moving them for the first 3-4 minutes so the crust sets. Turn once or twice until they are deep golden all over and the internal temperature reaches 165°F, then lift them out with tongs or a slotted spoon.
Drain & Serve
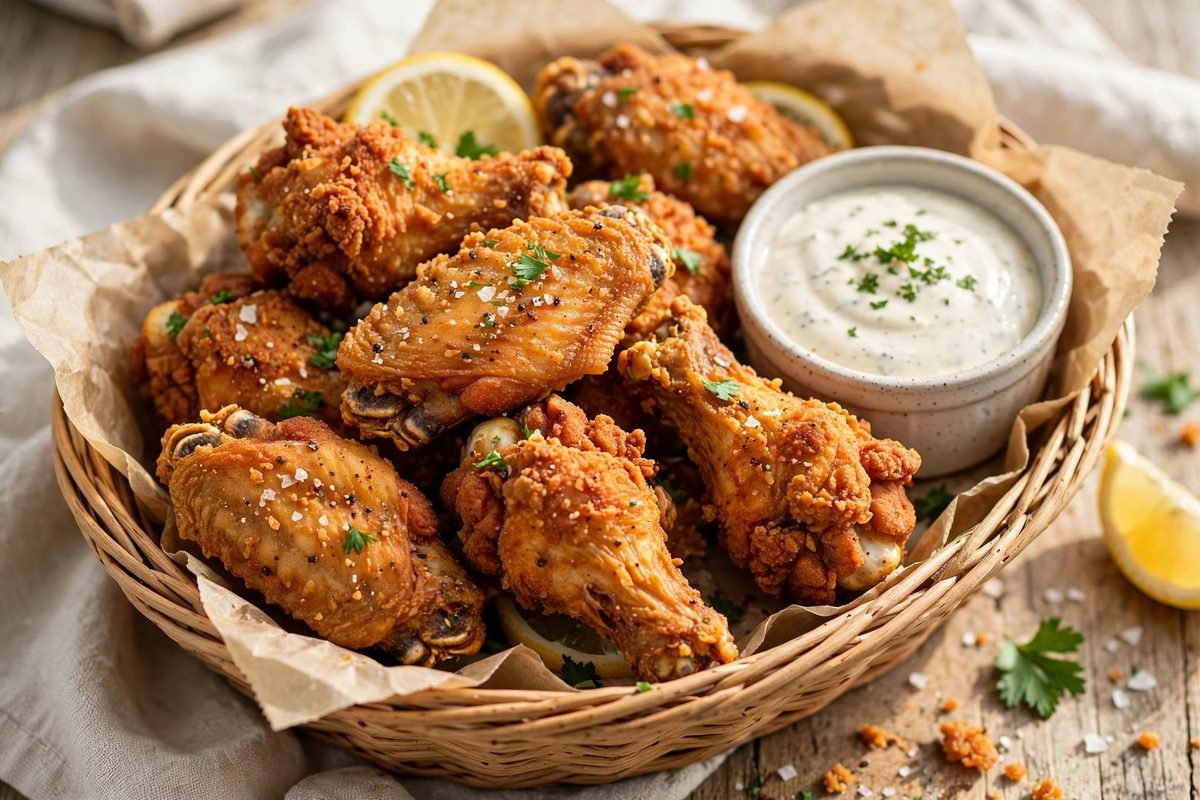
Remove and drain on paper towels. Serve hot! A wire rack over the paper towels is even better if you have one — wings sitting in their own dripping oil soften from below. Give them 2-3 minutes (the longest minutes in cooking) so the crust finishes crisping, season with one last pinch of salt while they are glistening, and get them to the table immediately. Crispy outside, juicy inside — exactly as promised.
Pro Tips
- Dry wings, crisp wings — pat them truly dry before anything touches them; moisture is the enemy of crunch.
- Rest the coated wings — 10 minutes on a rack before frying hydrates the flour into a crust that stays on in the oil.
- Do not crowd the pan — fry in batches and let the oil come back to temperature between them.
- Season twice — the coating carries the main seasoning, and a final pinch of salt on the hot, drained wings wakes everything up.
- Drain on a rack — paper towels work (as the pin does it), but a rack keeps the underside crisp instead of steaming in its own oil.
Frequently Asked Questions
Why dip the wings in buttermilk first?
Buttermilk does two jobs: its gentle acidity tenderizes the meat and seasons it, and it gives the flour something to cling to, building that thick, craggy crust. It is also why the pin’s tip — marinating at least 1 hour — makes such a difference.
What oil temperature is right for frying wings?
Around 350°F on medium heat, as the pin directs. Too cool and the wings drink oil and go greasy; too hot and the coating browns before the meat cooks. The oil should sizzle steadily the whole time.
How do I know the wings are cooked through?
Deep golden color, a crust that feels hard when tapped, juices running clear, and an internal temperature of 165°F at the thickest part. The pin’s 8-10 minutes at medium heat is right for standard wings.
Can I bake or air fry these instead?
Yes — bake on a rack at 425°F for 40-45 minutes, flipping halfway, or air fry at 400°F for 22-25 minutes. Pan-frying gives the crispiest, most classic crust, but both alternatives work with the same coating.
What should I serve with crispy fried wings?
Ketchup or your favorite dip (as the pin’s photo shows), plus coleslaw, fries, corn on the cob or a crisp salad. For sauced wings, toss the hot fried wings in buffalo or honey garlic sauce right after draining.